How to use AI subject selection in Photos in iOS 16 & macOS Ventura
Apple added a few new AI-based selection tools to Photos in iOS 16 and Preview in macOS Ventura. Here’s how to use them.
Apple’s Photos app on iOS 16 has a few new image selection and copy features. You can use these features to make selected portions of your photos available to others or to copy them to other applications.
Copy and share
In the first case, if you open an image that has a large foreground object in it, you can tap on that part of the image quickly and lightly to engage Photos’ AI selection tool. Don’t press and hold too long, or Photos will begin playback of the image’s live preview.
Just tap lightly and quickly, and then release:
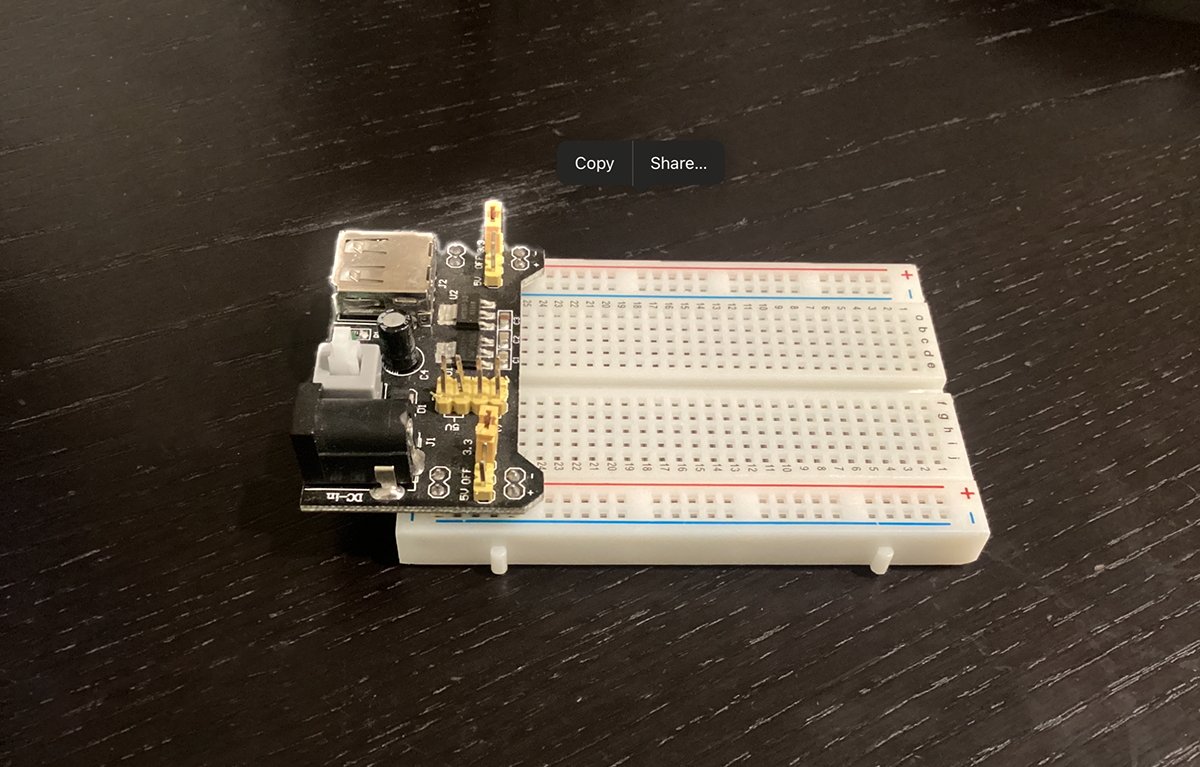
Photos will draw an animated glowing border circling the foreground object and it will also pop up a menu with “Copy” and “Share” items on it.
If you select “Share,” you get the standard Share Sheet, and if you select “Copy,” the selected foreground object will be copied to the clipboard where you can paste it into another app manually. You can share the object into any app listed in the Share Sheet which is able to accept new image input.
Drag-copy
If you swipe down from the three small dots at the top of the Photos app, and have first opened a second application, you can drag-copy your original selection from Photos into it.
To do so, make sure the second app already has a window open which can accept image input. Any app such as a word processor which can accept drops or Apple Notes will work.
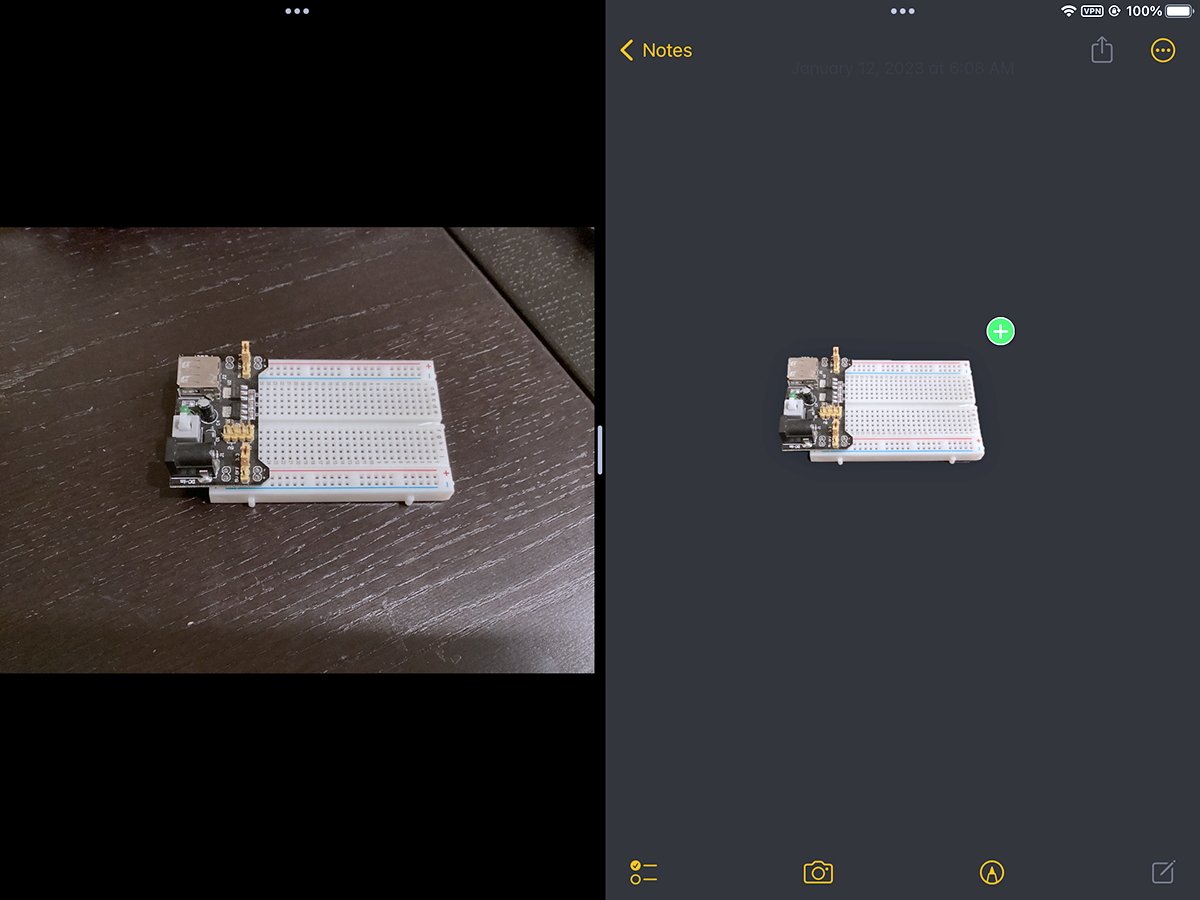
Once the second app is open, go back to Photos and make your photo’s object selection again, but this time, tap lightly and begin dragging onto the second app’s window immediately in one motion.
As your image selection enters the second app’s window, a green dot with a “+” in it will appear, indicating you can now drop the image object:
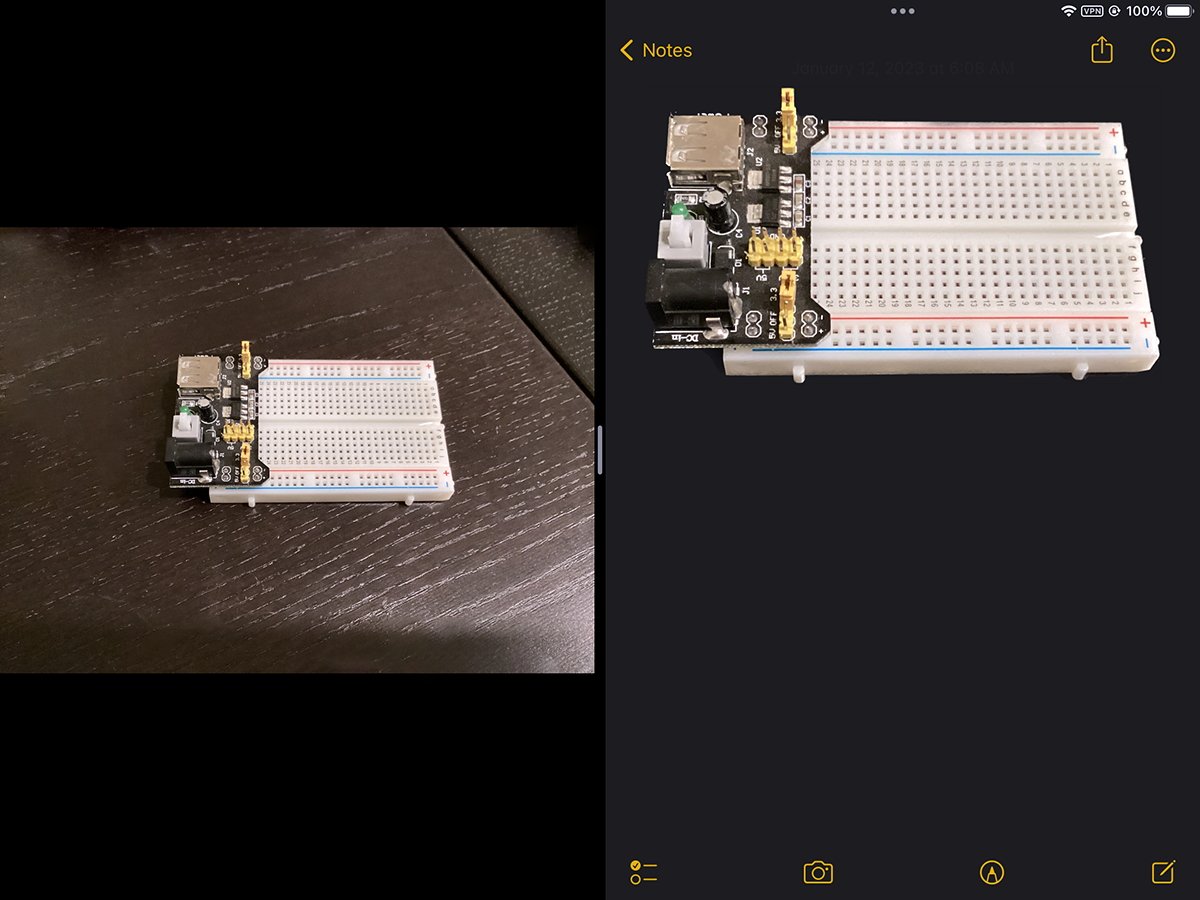
When dropped, it will be copied into the second app:
Drag-copying an image from one app to another is a great way to save time and avoid copy-pasting or manual image editing.
AI enhancements in macOS Preview
Preview in macOS 13.x Ventura has a similar feature but without the drag-and-drop element.
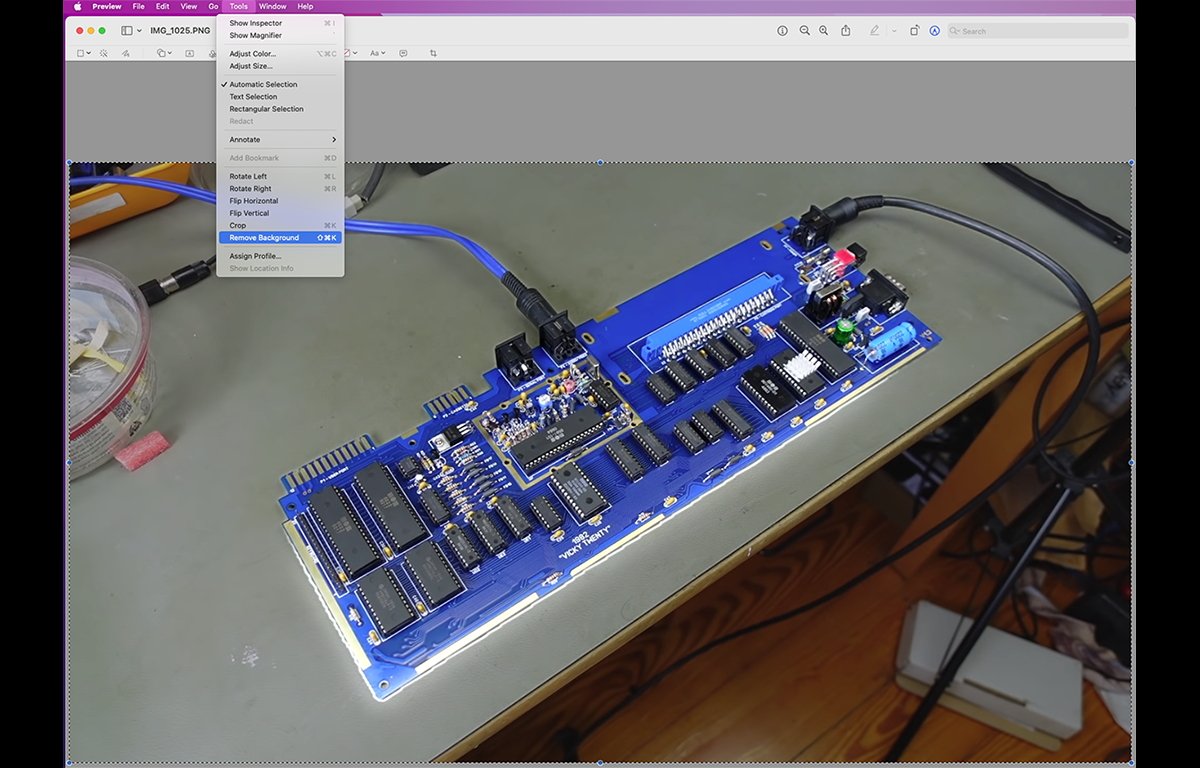
If you open an image in Preview containing a large foreground object, you can get the same AI selection by doing a Select All first, clicking the Tools menu in the menubar, waiting a few seconds, then hovering the cursor over the Tools->Remove Background menu item.
As the cursor remains over the menu item, Preview will draw the same animated neon selection around the largest item in the foreground – the same way that iOS does:
If you click the Remove Background menu item once the selection is made, the background will be removed from the entire image. AI selection is automatic and Preview determines what the most prominent foreground object is to select.
You can then choose Edit->Select All (Command-A) again to select the entire image. Preview is smart enough to leave a transparent background in the edited image so if you copy and paste it to another app, the result will be the same as the iOS example above.
You’ll get just the remaining portion of the original image when you paste it:
You can also save the image with a transparent background by holding down the Option key, selecting File->Save As…, choosing PNG from the Format: menu at the bottom of the Save As pane, and checking the Alpha checkbox at the bottom. “Alpha” in computer graphics terms means a transparent background layer.
Be aware that AI selection won’t work in every photo, as there has to be a large foreground object to tap on or select in order for it to work. Otherwise, Photos or Preview may just ignore the tap or selection.
Apple’s new Photos and Preview image selection and editing tools can make image editing and copying in iOS and in Preview on macOS a lot easier and faster.


