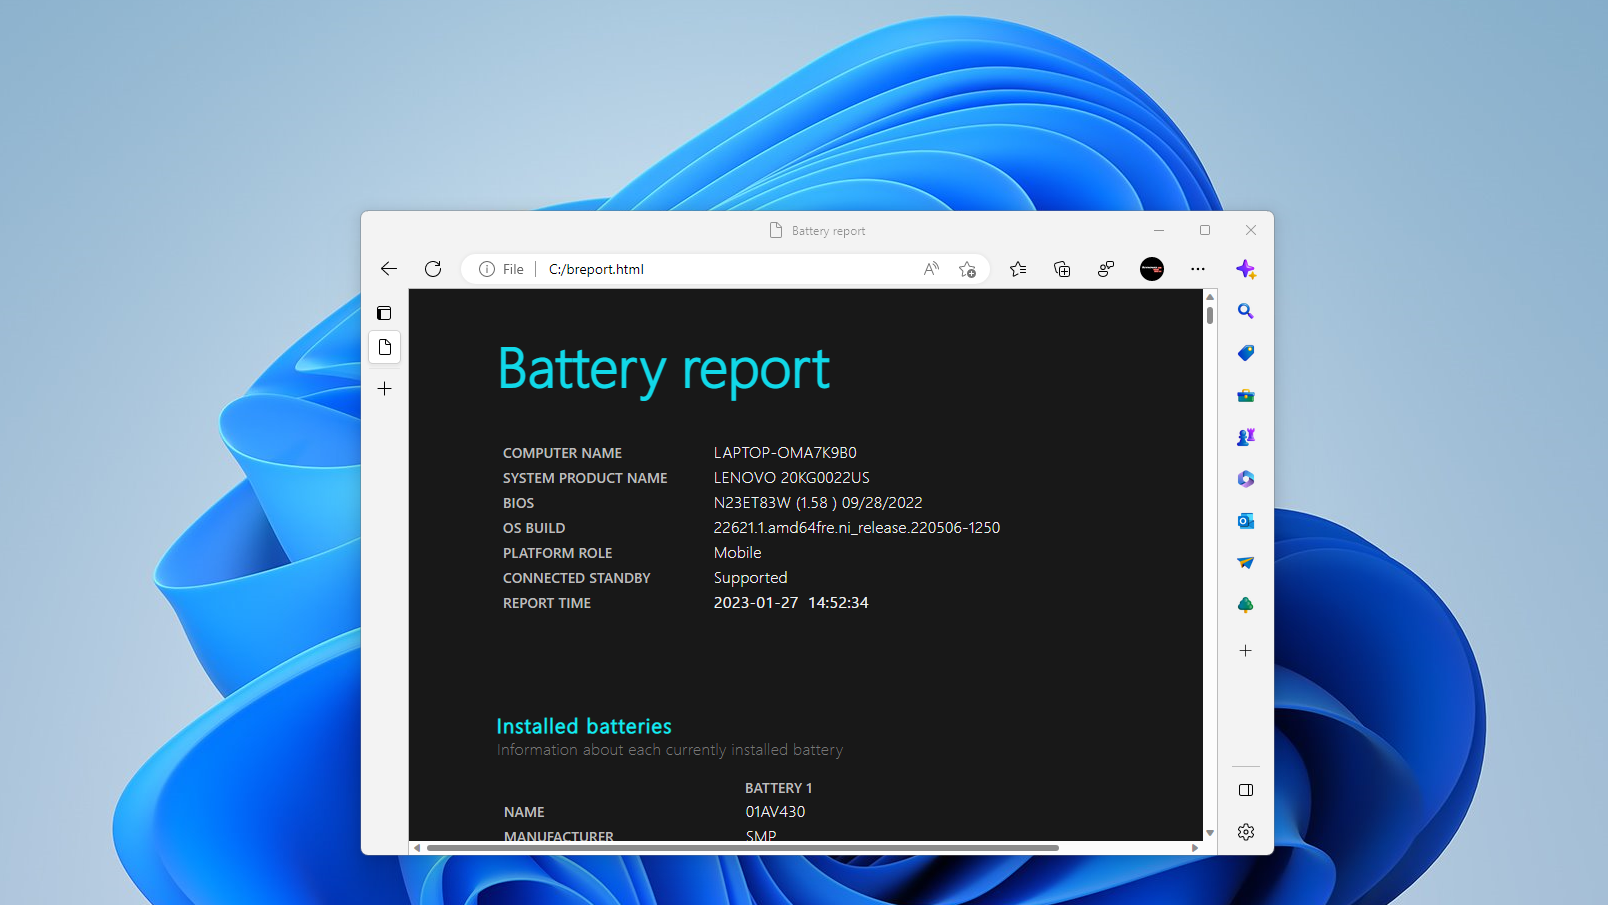
How to Get a Battery Health Report in Windows 10 or 11
The longer you own a laptop, the less charge its built-in battery will hold. You could buy one of the best ultrabooks which can go for 12 to 14 hours unplugged and after a couple of years of regular use, it might only endure for 9 hours or less. As your laptop goes through more charge cycles over the years, its battery health gets worse.
Fortunately, for most laptops made in the last 5 to 10 years, there are replacement batteries available for $100 or less, and service manuals that explain how to replace the built-in unit on your own. But before you decide to swap out your old battery for a new one, you should get a battery health report to see just how much capacity it has left.
Below, we’ll show you how to use the built-in battery report in Windows 10 and Windows 11 (our screenshots show Windows 11 but it’s the same in 10) to find out just how many charge cycles your battery has experienced and how many mWh (milliwatt hours) it can hold. Note that a charge cycle is a complete discharge and charge of the battery, so many instances of unplugged use could make up a single cycle. For example, if you used the laptop until the battery was at 75% capacity and recharged it to 100 percent, that would be one quarter of a cycle.
How to Get a Battery Health Report in Windows 10 or 11
1. Launch command prompt as admin. The easiest way to do this is to search for “cmd” in Windows search, right click the top result and select run as admin.

2. Enter the following command at the prompt and hit Enter.
powercfg /batteryreport /output c:breport.htmlYou can change the output location and file name to anything you want as long as the file name ends in .html. I’ve chosen C:breport.html as mine.
After you enter this command, you’ll get a message saying that the report has been created.

3. Open the battery report HTML file (breport.html) in your browser. You’ll see a web page filled with data.

4. Scroll down to see the Design and Full Charge Capacity fields, along with the Cycle Count number.

The Design Capacity is the amount of mWh that the battery should have had when it was brand new and the Full Charge Capacity is the amount that it can hold now when at 100 percent charge. In the case of my four year old Lenovo ThinkPad X1 Carbon laptop, the difference between Design and Full Charge was about 12 percent when I ran my report. It had run through 309 full charge cycles since I first got it in September 2018.
If you scroll further down the page, you can see a long history of all the times your laptop was operating on battery and on AC power. However, I found this information largely unhelpful as it didn’t give me any sense of how much battery life I’ve been getting in regular use.

Using BatteryInfoView to Get a Battery Report
If you like a more GUI-driven battery report, I recommend trying BatteryInfoView (opens in new tab), a freeware utility from NirSoft. Once you’ve downloaded and unzipped BatteryInfoView, you just run it (it doesn’t install).
There are two main tabs of information: Battery Information and Battery Log. Battery Information, the main view, shows most of the same information as the Windows 10 or 11 built-in battery report does. It has the Design and “Full Charged” capacities, along with the number of cycles.

By hitting F8 or selecting it from the View menu, you can see the Battery Log view, which updates itself every minute (or a different frequency if you choose) with what is happening while you are running BatteryInfoView.

The log will show you whether the laptop was plugged in or unplugged and exactly how much charge was left at that moment. You can select “HTML report” from the view menu and have it outputted as an HTML table. You can also clear the log. However, unlike the Windows Battery Report log, this one only shows what happened while it was running. So, if you want to keep a long log, you need to keep BatteryInfoView open at all times.

