How to get started with Wine 8.0 on your Mac
Wine is a Windows API compatibility layer which allows you to run Windows software on modern computers. Here’s how to get started.
Over thirty years ago, the Linux operating system was released. The Mac was only a few years old then, and Windows was just getting started.
As Windows came to prominence, developers began to look for a way to run Windows 3.1 applications on other platforms.
Several Windows emulators appeared, such as SoftPC and VirtualPC. In 1993, the Wine project was started as a way to provide a Windows-compatible API to UNIX and POSIX-based operating systems.
Wine took nearly 15 years to perfect, and 2008 saw its 1.0 release to the public. Many apps, including several games support Wine, but in order to do so they must comply with certain POSIX APIs.
Not all Windows apps will run under Wine, but many do. And Wine helps preserve the ability to run older Windows apps such as Win32-based apps on modern hardware and OS’es.
It is also supported by Valve’s Steam and Steam Deck handheld consoles, allowing those platforms to run some Windows games.
Since macOS is a POSIX-compliant OS, it is well suited to work with Wine. The 8.0 release of Wine has some interesting improvements including allowing some 32-bit Windows apps to run on 64-bit hardware, and some x86 apps to run on ARM-based machines.
Apple Silicon Macs are supported, including running x86-64 binaries under Rosetta 2.
Wine 8 has also been updated the support the latest version of the Vulkan graphics engine, Microsoft’s Direct3D, and now supports the OCSP networking protocol. See the Wine 8 Announcement for full details of new features.
Microsoft’s own .NET development framework has been Wine-supported since version 3.5, making many .NET applications already compatible with Wine.
Wine Documentation
For documentation there’s a Documentation page, a FAQ, Wiki, forums, Support, a Developer’s Guide, and man pages for UNIX systems.
There’s also a Mac-specific page, and a Mac FAQ.
Also see Winetricks for workarounds to some issues.
How to install Wine on your Mac
To install Wine on your Mac, you’ll need to first install XQuartz, either using the installer from the XQuartz site, or via Homebrew in Terminal. Note that the long-dash in the box below is two dashes, not an em-dash.
brew install ––cask xquartz
There’s a rather hidden direct macOS installer for Wine, but a better way is to use Homebrew to install, since it knows how to install dependencies and knows where everything should be installed.
To install Wine via Homebrew in the macOS Terminal:
brew install ––cask ––no-quarantine wine-stable
The ––no-quarantine flag forces Gatekeeper to allow installation.
and WineTricks:
brew install winetricks
There’s an official macOS installation page on GitHub: How to install/about wine on mac
There’s also a releases page on GitHub.
There’s a downloads page, but for macOS it just redirects to a page with Homebrew instructions.
Using Wine apps
Once Wine is installed, you can run any Wine-compatible Windows application simply by double-clicking it in the Finder like you would any other app, or first downloading and running its Windows installer just as you would on Windows. A Wine emulator is not available with the Wine package.
You can run any Wine-compatible Windows app from Terminal also, simply by using the wine command. For example to run a Windows app called setup.exe, in Terminal:
wine setup.exe
David Baumgold has a good page on installing Wine on a Mac.
There are a few interesting third-party packaged macOS emulators which use Wine to download and install Windows packages.
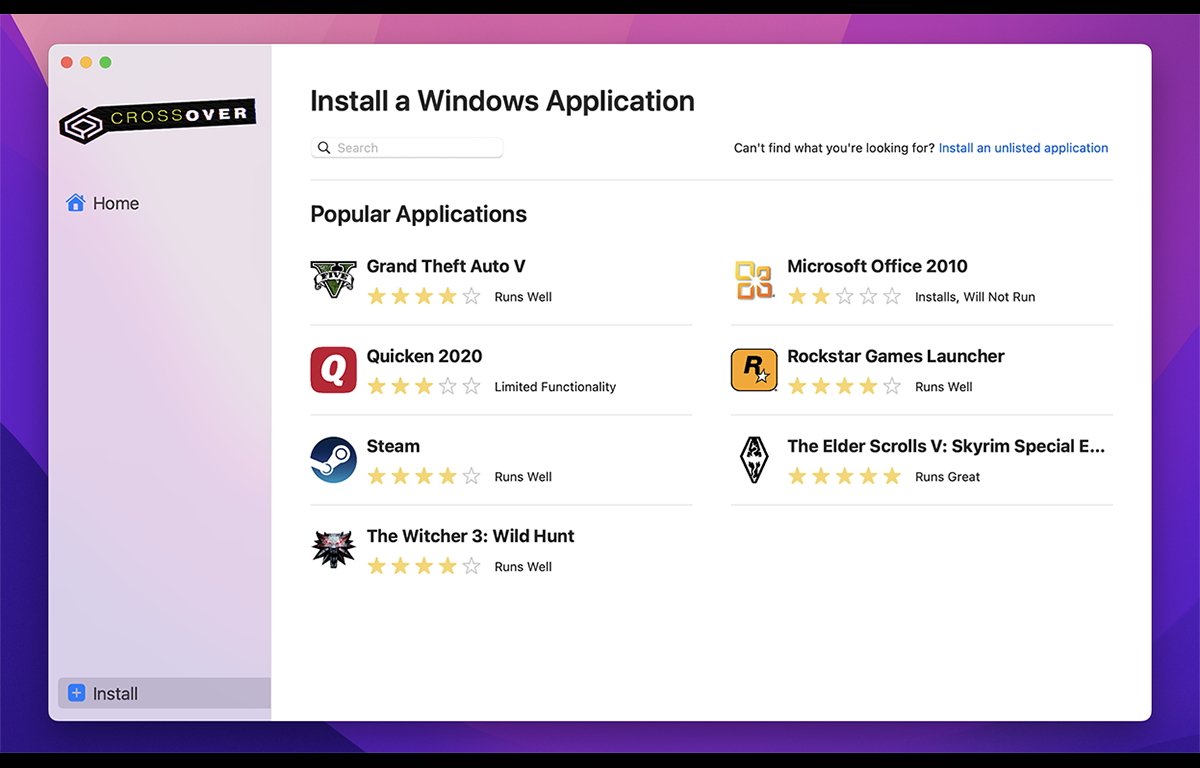
One of these is CrossOver ($24, 14-day-free trial) from Codeweavers. Once installed, Crossover allows you to search for, install, and run Windows apps.
Another similar, but simpler Windows app manager for macOS which supports Wine is PlayOnMac (free).
Wine provides a great way to keep older Windows apps running on your Mac, and allows you to run Windows apps without having to install a copy of Windows, or use BootCamp or virtualization software such as VirtualBox or Parallels.


