How to Install RAM in a PC
Installing RAM in your PC is perhaps the easiest part of a PC build, and also a simple upgrade you can do to add performance later. More RAM allows you to smoothly run more software, edit video, open lots of browser tabs or play video games.
The RAM is effectively short-term memory, storing data that needs to be used in the programs you’re actively using. Having more memory lets your CPU access more data, which can improve performance. It’s a great way to increase performance on even the best gaming PCs. (If you’re not using a desktop, learn how to upgrade the RAM in your laptop.)
Whether you’re in the middle of building your PC, or making an upgrade, you’ll have to make sure you pick RAM that works with your motherboard and determine how many sticks you’ll need.
Determine what kind of memory you need (and how much)
The kind of RAM you’ll need depends on your motherboard. You’ll have to check if it uses the newest standard, DDR5, or the older DDR4 — both are still commonly found (you can tell from the manual, the product descriptions or Crucial’s Advisor Tool). The other thing to consider is whether your board has two or four slots for memory. Full-size ATX and micro ATX motherboards will usually have four slots, while mini ITX often have just two.

So if you want 32GB of RAM, you could use two 16GB of sticks on any of those board types, or four 8GB sticks on the ones with four slots. Once you have the best RAM for you, move on to the next part of the guide.
Picking Your Slots for Dual Channel RAM
Most modern motherboards support dual channel RAM configurations, which means that there are two 64-bit lanes from the memory to the CPU as opposed to just a single one, a huge speed advantage. To take advantage of dual channel speeds, you need to have two or four sticks of RAM and place them into the correct DIMM slots so that half of the memory is on one channel and the other half is on the other.
If you’re installing two DIMMs into a board with four empty slots, you need to make sure that you check your motherboard manual to see which slots represent channel A and B. Usually this means putting the RAM in other slot, but check the instructions and look for a diagram like this one.

Once you know which slots to use, you’re ready for installation.
How to Install RAM in Your PC
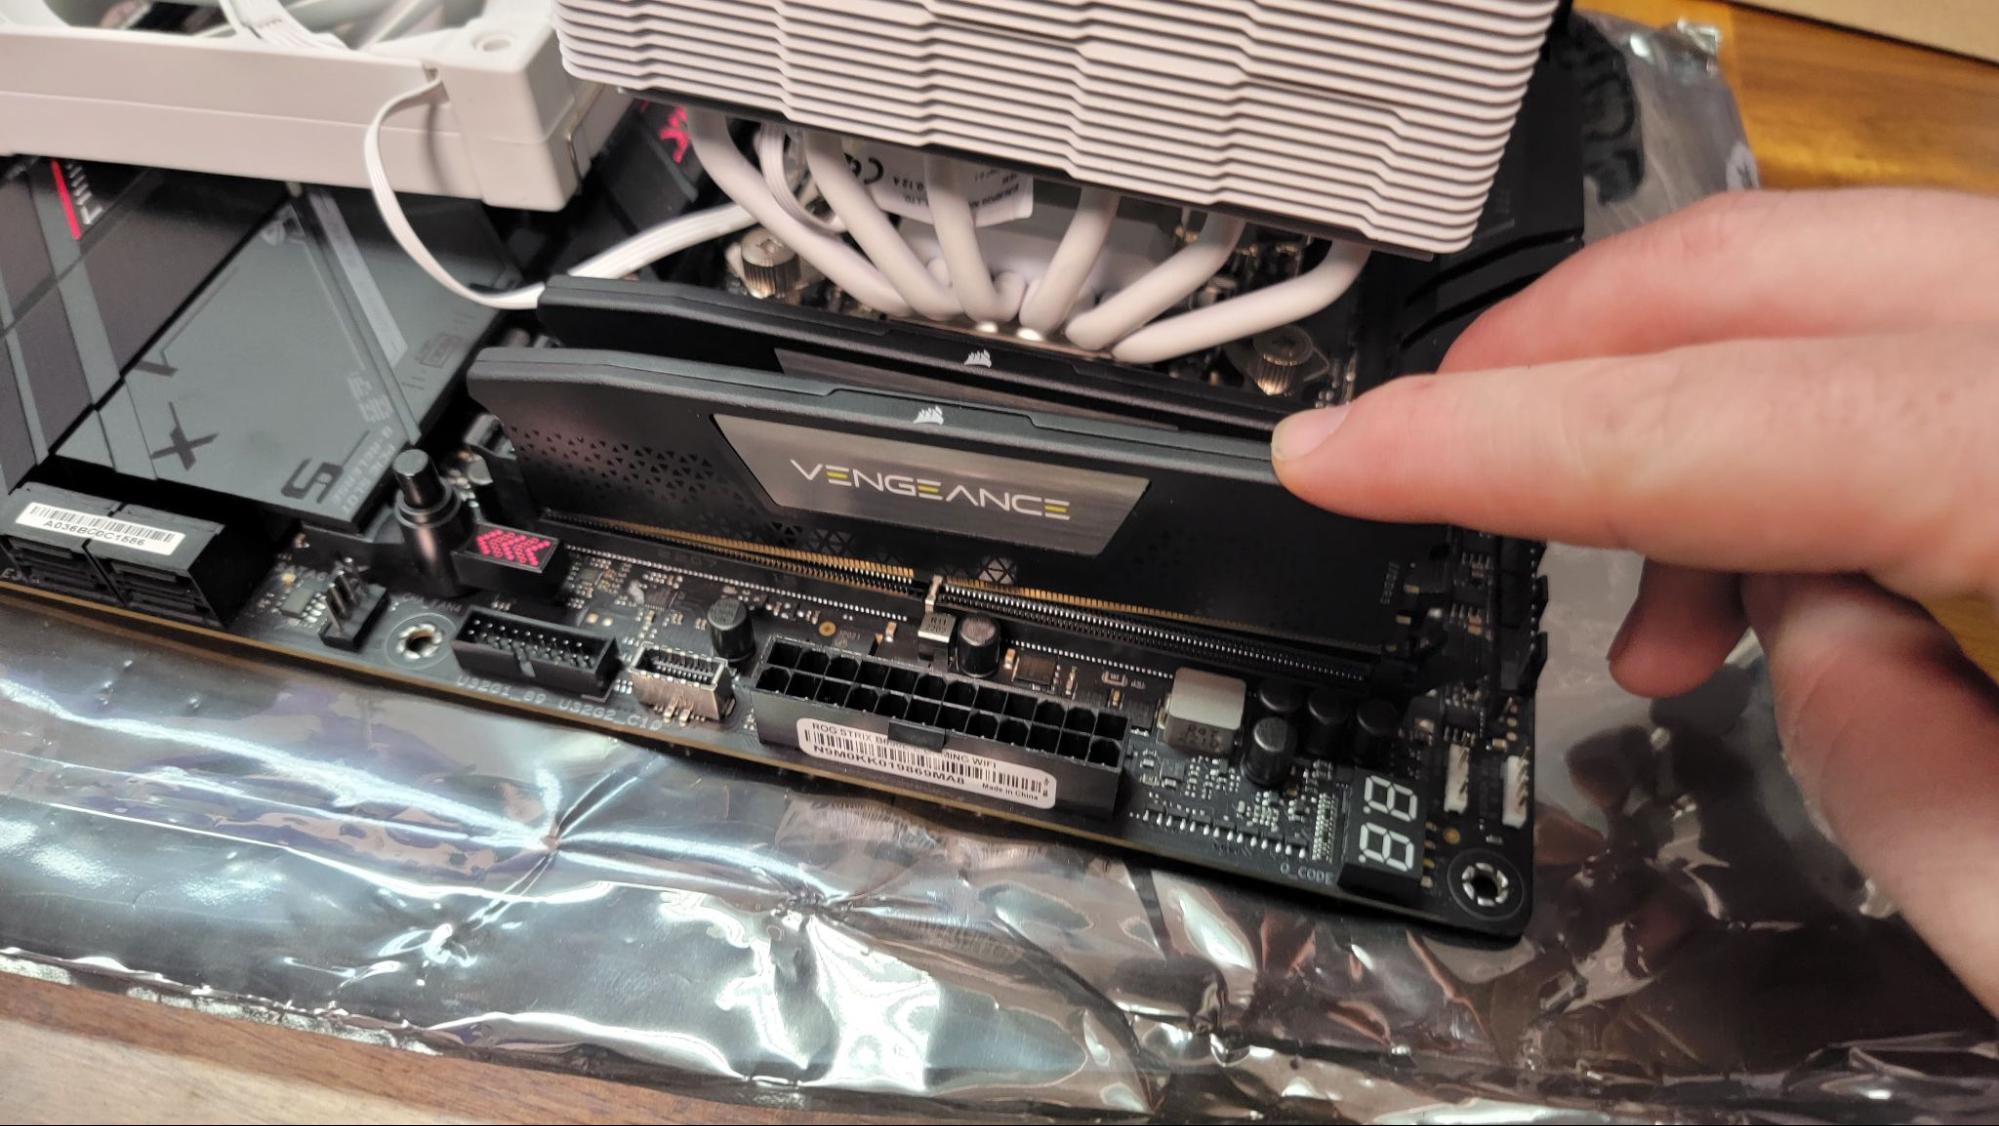
1. Unlock the latches on the RAM slot. Some boards have them on both sides of the slot, while many now just have one. Push down on the latches to ensure they’re in the open position.

2. Line up the first stick. You’ll see that the motherboard has a notch and the RAM has a divot. These have to line up. If they don’t, the RAM won’t fit. Make sure you have the RAM facing the right way. If you don’t, turn it around.

3. Place the RAM in the slot. Make sure it’s aligned between the latch guides.

4. Press down on the RAM until it makes a clicking sound. You may need two hands. If it’s your first time building, don’t be alarmed that it takes more pressure than you expected; the process requires a bit of force.

You shouldn’t be able to see any of the gold contacts. The latches on the sides of the RAM slot should have popped up to lock the memory in place.

5. Repeat the process with each stick of RAM until you’re done.

If your RAM isn’t fitting in, make sure you’re pressing down with some force. Also be doubly sure that the RAM is facing the right way, and that the notch and divot are aligned.
With the RAM installed, you can continue your build. Learn more with our full guide on how to build a PC.

