How To Make a DIY Mouse Jiggler with Raspberry Pi Pico
How To Make a DIY Mouse Jiggler with Raspberry Pi Pico
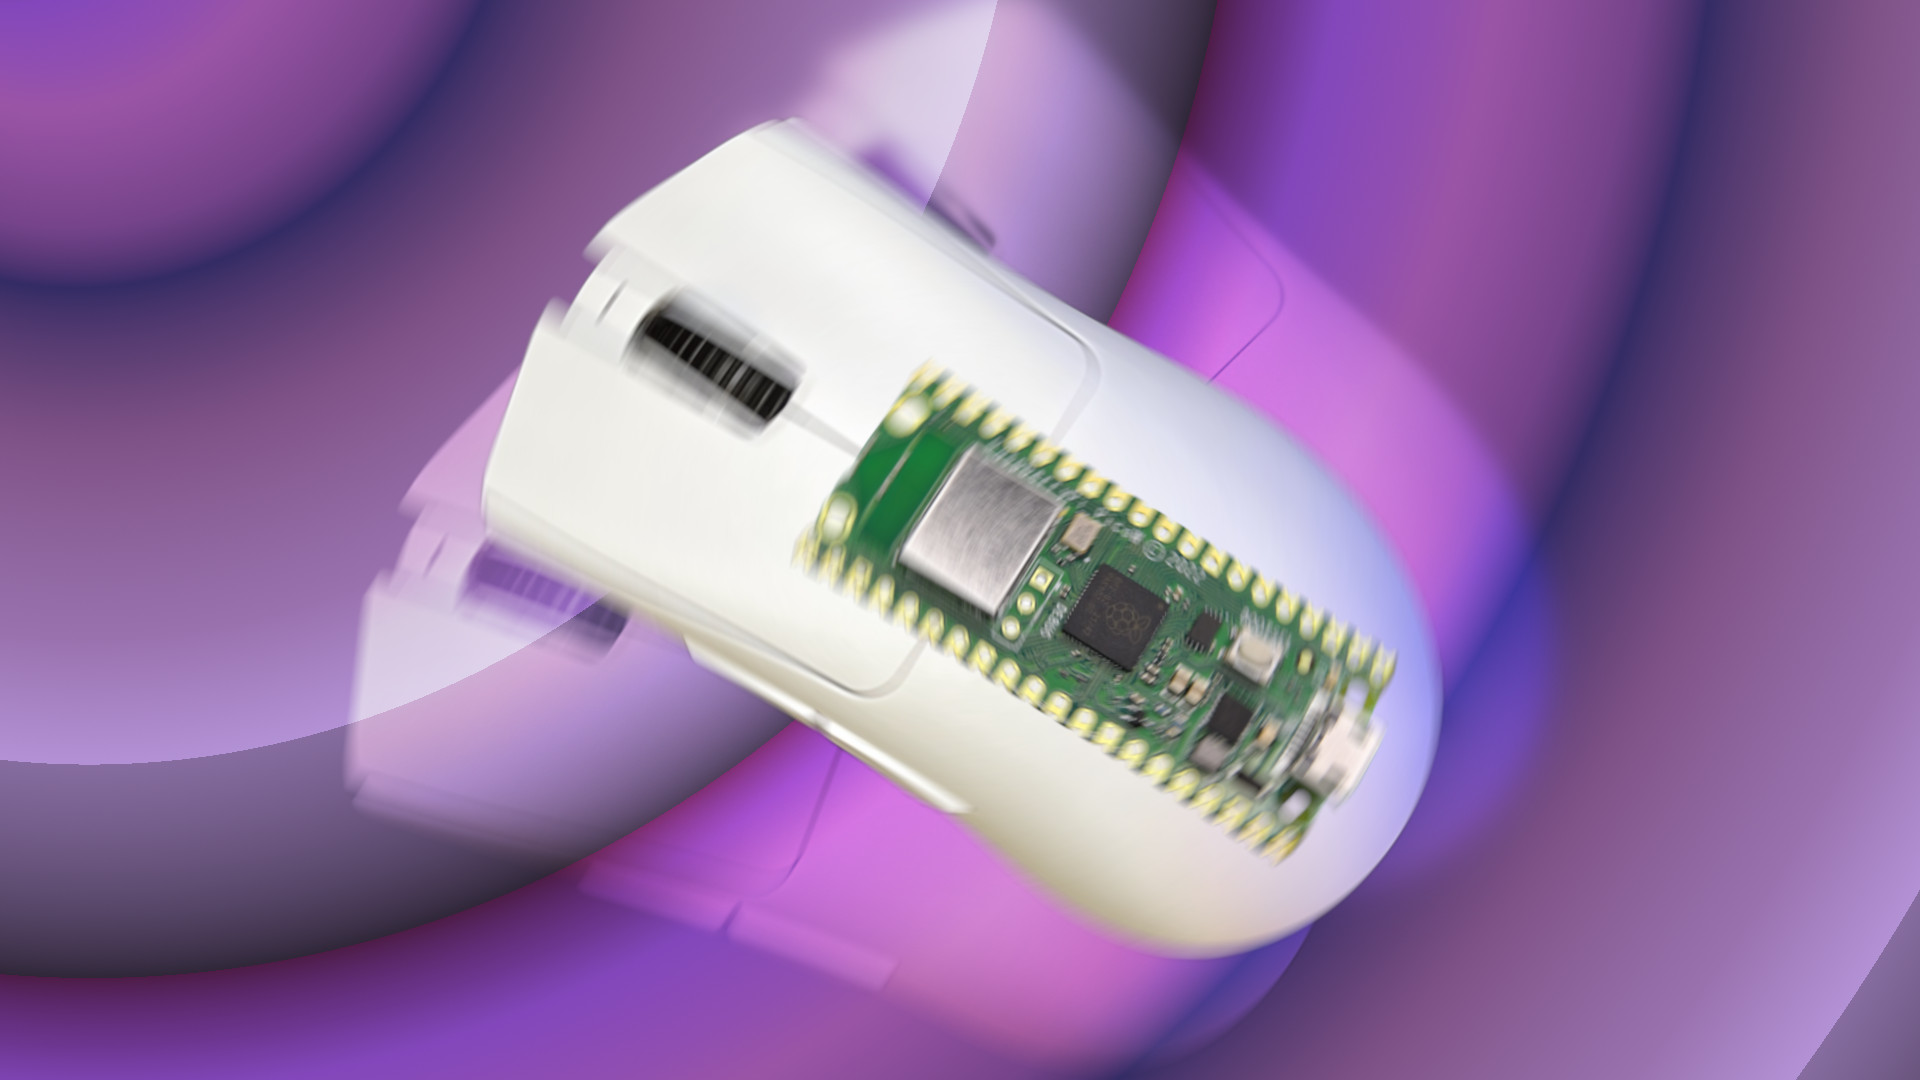
If you need your PC – particularly a corporate laptop from your job – to see you as active even when you step away, a mouse jiggler is your best choice. Most company-issued computers either don’t allow you to install software or spy on which apps you are running so using a device that moves the pointer automatically but presents to the OS as a mouse solves the problem. You can head off to Amazon and buy a USB device that costs anywhere from $7 to $40, or you can make your own diy mouse jiggler using the $4 Raspberry Pi Pico.
In this how to, we will build a diy mouse jiggler using the Raspberry Pi Pico and CircuitPython. Nothing else is required, not even drivers, making this $4 project a great saving of your time and your money. Note that, though we used a Pico, these instructions will work for any RP2040-powered microcontroller that has CircuitPython support (almost all of them). A board like the Adafruit Trinkey QT2040, another RP2040-powered microcontroller which costs $8, would be even better than the Pico because it has a USB Type-A built-in so doesn’t even require a wire to connect to your PC.
Configuring CircuitPython for Mouse Jiggler
1. Go to the official CircuitPython page for the Raspberry Pi Pico and download the latest release UF2 firmware image. At the time of writing this was CircuitPython 8 Beta 6. If you are using a different RP2040-powered board, find its UF2 page on Circuitpython.org.
2. Whilst holding the BOOTSEL button, connect the Raspberry Pi Pico to your computer. A new drive, RPI-RP2 will appear
3. Copy the downloaded CircuitPython UF2 file to RPI-RP2. This will write CircuitPython to the internal flash storage of the Pico. A new drive, CIRCUITPY will appear.
We need a number of CircuitPython libraries before we can continue. These libraries of prewritten code add extra features to a project.
1. Download the bundle of libraries for the same version of CircuitPython as installed on the Pico. We installed CircuitPython 8 so downloaded the bundle for version 8.x.
2. Extract the bundle to your desktop and then open the lib folder contained within.
3. Copy the adafruit_hid folder from this lib folder to the lib folder on the CIRCUITPY drive.
Writing CircuitPython Code for Mouse Jiggler
1. Download and install Thonny if you don’t have it already. Thonny is a Python editor which covers Python 3, MicroPython and CircuitPython.
2. Open Thonny and go to Tools >> Options.

3. Select Interpreter, then set the interpreter as CircuitPython, port to automatic, and click OK. Thonny will now connect to the Pico W running CircuitPython.
4. Click on File >> Open and open code.py on the CircuitPython device (our Raspberry Pi Pico).
5. Delete any code already in the file.
6. Import the USB_HID library, followed by Adafruit’s Mouse support library.
import usb_hid from adafruit_hid.mouse import Mouse7. Import the sleep function from the time library. We will use this to add a short delay between each movement.
from time import sleep8. Create an object, m, to control the virtual mouse.
m = Mouse(usb_hid.devices)9. Create a loop to continuously run the code within. For testing purposes this loop can be replaced with a for loop, otherwise the code would lock us out of working.
while True:Alternative Testing For Loop
for i in range(2):10. Use “move” to move the cursor 100 pixels to the left.
m.move(-100, 0, 0)11. Print a message to the Python shell and pause for half a second. Printing helps us to debug the code.
print("I am working")12. Now move the mouse 100 pixels to the right, print another message and pause for a further half second.
m.move(100, 0, 0) print("I am so busy") sleep(0.5)13. Move the mouse down 100 pixels, print a message and then another pause.
m.move(0, -100, 0) print("So much to do") sleep(0.5)14. Move the mouse up 10 pixels, print a message and then again pause.
m.move(0, 100, 0) print("I need a vacation") sleep(0.5)15. Save the code as code.py to your Raspberry Pi Pico (CircuitPython device). CircuitPython will automatically run code.py (MicroPython can also do this with main.py and boot.py) when the Pico is connected to the computer. As the OS believes this is “just a mouse” the project can be used on any OS.
Complete Code Listing
import usb_hid from adafruit_hid.mouse import Mouse from time import sleep m = Mouse(usb_hid.devices) while True: m.move(-100, 0, 0) print("I am working") sleep(0.5) m.move(100, 0, 0) print("I am so busy") sleep(0.5) m.move(0, -100, 0) print("So much to do") sleep(0.5) m.move(0, 100, 0) print("I need a vacation") sleep(0.5) Adding a Button to the DIY Jiggler

A plug and play mouse jiggler is handy, but more useful is one that we can activate at the push of a button. Here we modified the code to include a push button on GPIO12 which will toggle the jiggler on or off.
For This Project You Will Need
- A Raspberry Pi Pico
- Half Sized Breadboard
- Push Button
- 2 x Male to male wires

The circuit is extremely simple, we just need to wire up a push button to GPIO 12 and GND. GPIO 12 will be set to pull high, and when the button is pressed it will connect the pin to GND. This will trigger the pin to change state to low, and we use this as a toggle for the jiggler code. This project will build upon the code from the previous version.
1. Add two extra imports for board and digitalio. These two libraries provide access to the GPIO and enable us to set the state of GPIO pins.
import usb_hid from adafruit_hid.mouse import Mouse from time import sleep import board from digitalio import DigitalInOut, Direction, Pull2. Create an object, button and set this to be GPIO12.
m = Mouse(usb_hid.devices) button = DigitalInOut(board.GP12)3. Set GPIO 12 to be an input and pull the pin high. Some GPIO pins have an internal resistor that we can pull high to 3.3V or low to GND.
button.direction = Direction.INPUT button.pull = Pull.UP4. Create two variables, active and button_press and store 0 in each. These two variables will store a 0 or 1, identifying if the jiggler is active and the button has been pressed. At the start of the code they are both set to inactive using 0.
active = 0 button_press = 05. Add a while True loop to run the code.
while True:6. Create a conditional statement that checks the status of the button and the value stored in active. When the button is pressed, the state of GPIO 12 is changed from high (True) to low (False). When pressed, the conditional statement will check the value stored in active. The default value is 0, meaning the jiggler is not active.
if button.value == False and active == 0:7. Update the variables to 1 and then print a message to the Python shell.
active = 1 button_press = 1 print("Turning on")8. Add a five second pause for this condition. This enables us time to press the button and for the code to register the press and offer plenty of debounce time that prevents multiple button presses.
sleep(5)9. Use an else if condition to check that the button is not currently being pressed and that the values stored in active and button_press are 1. This means that we have pressed the button and want the mouse jiggler code to run.
elif button.value == True and active == 1 and button_press == 1:10. Reuse the mouse jiggler code to move the mouse around the screen.
m.move(-100, 0, 0) print("I am working") sleep(0.5) m.move(100, 0, 0) print("I am so busy") sleep(0.5) m.move(0, -100, 0) print("So much to do") sleep(0.5) m.move(0, 100, 0) print("I need a vacation") sleep(0.5)11. Create another conditional statement to check that the button has been pressed and that active and button_press store the value 1. This means that the user wants to turn off the jiggler code.
elif button.value == False and active == 1 and button_press == 1:12. Print a message to the user, then reset the values stored in the variables before pausing for five seconds.
print("Turning off") active = 0 button_press = 0 sleep(5)13. Save the project as code.py to the Raspberry Pi Pico and the board will reset and run the code. Press the button to toggle the jiggler code on and off.
Complete Code Listing
import usb_hid from adafruit_hid.mouse import Mouse from time import sleep import board from digitalio import DigitalInOut, Direction, Pull m = Mouse(usb_hid.devices) button = DigitalInOut(board.BUTTON) button.direction = Direction.INPUT button.pull = Pull.UP active = 0 button_press = 0 while True: if button.value == False and active == 0: active = 1 button_press = 1 print("Turning on") sleep(5) elif button.value == True and active == 1 and button_press == 1: m.move(-100, 0, 0) print("I am working") sleep(0.5) m.move(100, 0, 0) print("I am so busy") sleep(0.5) m.move(0, -100, 0) print("So much to do") sleep(0.5) m.move(0, 100, 0) print("I need a vacation") sleep(0.5) elif button.value == False and active == 1 and button_press == 1: print("Turning off") active = 0 button_press = 0 sleep(5) Special Adafruit Trinket QT2040 Version
Adafruit’s Trinkey QT2040 is a USB dongle shaped board powered by Raspberry Pi’s RP2040. It doesn’t have a traditional GPIO per se, rather it uses a StemmaQT connector for use with compatible breakout boards.
This special version of the button toggle code uses the boards built in user button (BOOT) to toggle the code on / off and the NeoPixel to denote the if the jiggler is active. The code is largely the same as the previous button toggle code, just altered to use the button reference (a CircuitPython abstraction) and to setup NeoPixels.
1. Download the bundle of libraries for the same version of CircuitPython as installed on the Pico. We installed CircuitPython 8 so downloaded the bundle for version 8.x.
2. Extract the bundle to your desktop and then open the lib folder contained within.
3. Copy the following files / folders from this lib folder to the lib folder on the CIRCUITPY drive.
adafruit_hid
adafruit_pixelbuf.mpy
neopixel.mpy
4. Open a new file in Thonny and copy the code from the previous example.
5. In the imports add a line to import the NeoPixel library.
import neopixel
6. After setting up the button, add a new line to create a connection to the single NeoPixel on the Trinkey QT2040.
pixel = neopixel.NeoPixel(board.NEOPIXEL, 1)
7. Scroll down to the else if condition that toggles the jiggler on. This is where we press the button, and the active and button_press variables are set to 1. Add a line to set the pixel to red, at one quarter brightness.
pixel.fill((32, 0, 0))
8. Scroll down to where the jiggler code is toggled off. This is where the button is pressed, and the active and button_press variables are set to 1. Change the color of the NeoPixel to green, with one quarter brightness.
pixel.fill((0, 32, 0))
9. Save the code as code.py to the Adafruit Trinkey QT2040. The board will reset and the code will start. Press the button to toggle the code.
Complete Code Listing
import usb_hid from adafruit_hid.mouse import Mouse from time import sleep import board from digitalio import DigitalInOut, Direction, Pull import neopixel m = Mouse(usb_hid.devices) button = DigitalInOut(board.BUTTON) button.direction = Direction.INPUT button.pull = Pull.UP pixel = neopixel.NeoPixel(board.NEOPIXEL, 1) active = 0 button_press = 0 while True: if button.value == False and active == 0: active = 1 button_press = 1 print("Turning on") sleep(5) elif button.value == True and active == 1 and button_press == 1: pixel.fill((32, 0, 0)) m.move(-100, 0, 0) print("I am working") sleep(0.5) m.move(100, 0, 0) print("I am so busy") sleep(0.5) m.move(0, -100, 0) print("So much to do") sleep(0.5) m.move(0, 100, 0) print("I need a vacation") sleep(0.5) elif button.value == False and active == 1 and button_press == 1: pixel.fill((0, 32, 0)) print("Turning off") active = 0 button_press = 0 sleep(5)